Locations can be created to create a separation between Vivi Boxes in distinct locations.
Users at organisations with locations set will see the "Locations" screen the first time that they log in.
Once a user has set their location in the Vivi App, they will only see devices in that location. The Vivi App will remember their choice to return them straight to that list when the App is restarted.
The hierarchy of locations and rooms is as follows:
...
- Under the "Organisation" link in Vivi Central, select the "Locations" link.
- Click on "Create Location".
- If you manage more than one organisation, select the correct organisation from the drop-down list.
- Add the name of the new location.
- Click "Create" to save the changes.

Creating a location
Sub-locations can also be created. Any number of levels of sub-locations can be created.
To create a sub-location:
...
The new location will now be visible in the list.
Please note:
- Before introducing multi-level locations, it is recommended that users upgrade to Vivi App version 2.13.1 or greater.
- Be aware that locations cannot be assigned to parent locations that already have rooms, and rooms cannot be assigned to a mid-level location.
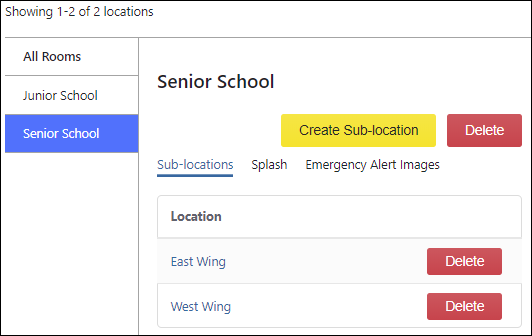
Sub-locations
Modifying and deleting locations
...
Rooms can be created within a location. This can be done via the "Locations" menu or the "Rooms" menu.
To create a new room via the "Locations" menu:
...
The room will be created within the location that was selected.
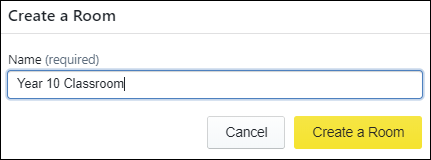
Create a room
To move a room to a new location:
...
Each location can have its own splash background.
By default, they will inherit the organisation-wide splash background.
To set a specific background for a location:
- Upload the required image. The image type must be set to "Splash and emergencies".
- Under the "Organisation" link in Vivi Central, select the "Locations" link.
- Select an existing location.
- Click "Splash".
- The screen will show if a custom splash has been set. It will also show any inherited splash screens that the room can use.
- Click on "Set Splash" to change the splash background for the location.
- Select an image from the list of uploaded media.
- Click "Use this image" to save the changes.
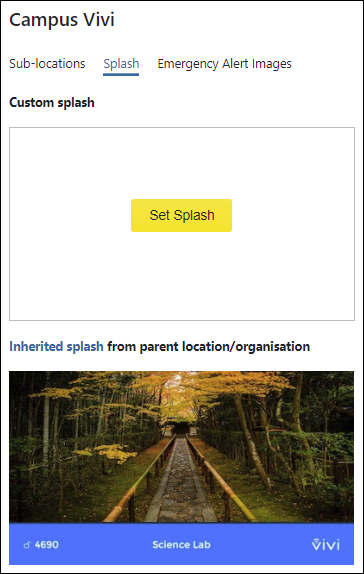
Location specific splash settings screen
Once set, if you hover the mouse over the custom splash background, options will be shown to "Change" the custom splash, and to "Use (the) Inherited" splash instead.