...
To view the current settings, select the "Network Settings" link in the Web Console and look at the "Connection" section.
...
Ethernet connection settings
...
Select the "Network Settings" link in the Web Console.
In the "Connection" section, select "Wi-Fi".
The Box will automatically scan for a list of Wi-Fi networks that are available. Click the "Scan" button to refresh the list if required.
Select the Wi-Fi network from the dropdown list. If the Wi-Fi network is not advertised, the SSID for the network can be added manually.
Enter the password for the Wi-Fi network in the "Pre-Shared Key" section.
Save the changes.
...
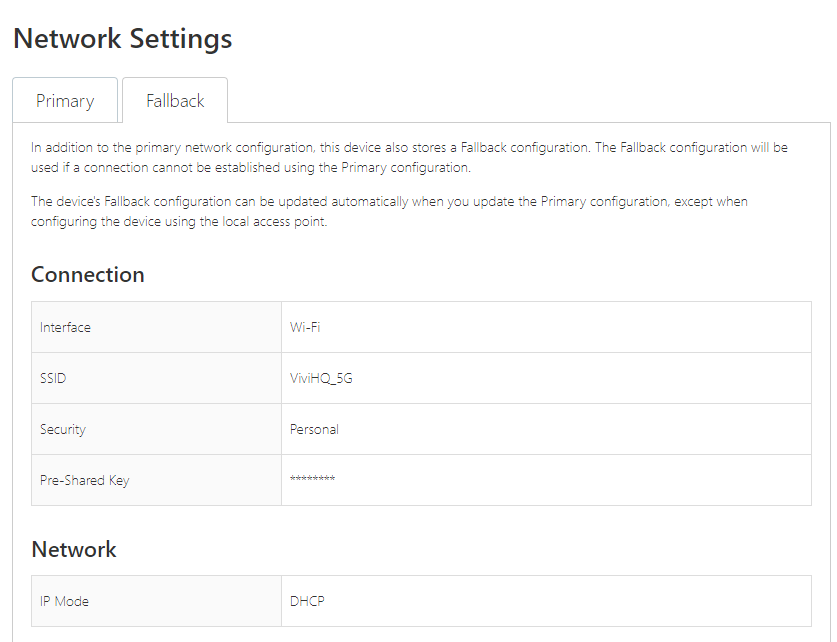
Sample Wi-Fi network settings
...
Select the "Network Settings" link in the Web Console.
Click on "Static".
Fill in the IP address, subnet mask, gateway and name server details.
Save the changes.
Fallback Configuration
The Vivi devices have a feature that allows a Fallback Configuration to be configured for the vivi devices. If the primary connection of the vivi disconnects, such as a router or modem loses power, the Vivi device can keep running using the Fallback Network that was configured for it.
When you first receive the device it wont have a fallback configuration and is added to the vivi device when it is set up for wifi the first time. A wifi device will have its Fallback configuration automatically set to the ethernet connection that was applied to it. To allow Wi-Fi as the devices Fallback Connection you will need to do the follow:
Connect to the Vivi through its web console and its IP address assigned to it
Go to the Network Setting of the Device
Set the Primary Configuration as Wifi and enter the SSID and the Preshared Key (password) for the Wifi connection you wish to use
Once the correct information is entered, scroll down to the bottom of thepage and tick Replace Fallback Connection.
Press Save. You will see a message saying “Updating Network Settings”. Once the Configuration is applie your Web Console page will refresh and you will see a new IP address in the URL bar
Once the page is refreshed return to the Network Settings and change the connection to Ethernet and press save. The web console will refresh again
If you return to the Fallback menu you will see the SSID that you had configured in step 3 and 4 is now the Fallback configuration
Testing
After changing any of the Box network settings, they can be tested as follows:
...